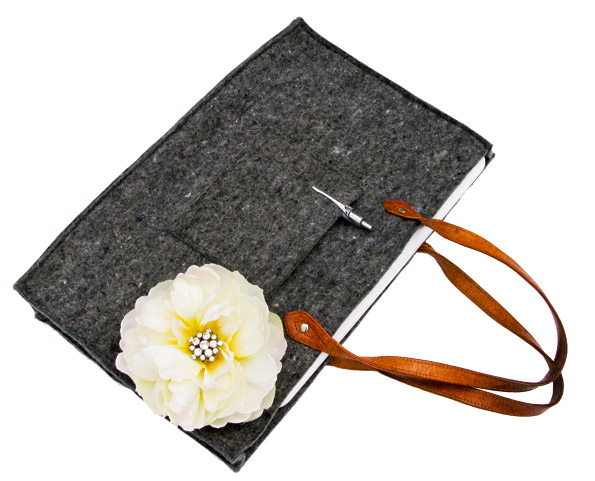
The beauty of felt is that it doesn’t fray, so it’s a great medium to work with – and it always looks super-stylish.
Decorate your bag as simply or as lavishly as you please.
Skill Level Easy
YOU’LL NEED:
• Paper for making pattern
• 40cm strip of 3.2mm-thick felt (Available from Felt Supplies of NZ Ltd)
• 2 x recycled leather bag handles
• 4 x bifurcated rivets (You can also use cap rivets)
• Fabric hole punch
• Sewing thread (To match the felt colour)
• Dressmaker’s scissors
• Sewing machine
1 Make a pattern from newspaper or brown paper. Cut two rectangles (bag front and back) 25cm x 40cm. Cut two side gussets 25cm high, 6cm wide at
the bottom and 3cm wide at the top. Cut a bottom gusset 40cm x 6cm wide. Cut a pocket 15cm x 12cm. Pin the pattern pieces together to make sure your laptop fits inside. Adjust if necessary.

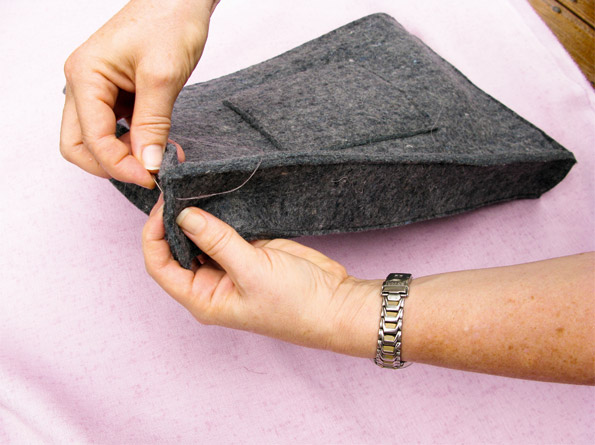
2 Use the pattern to cut out your felt pieces. Pin the pocket in the centre of your front piece and stitch in place. Pin the bottom gusset to the front and back pieces, and stitch along the long edges. Stop 5mm from the ends and leave the short edges unsewn.

3 Pin the side gussets to the bottom, front and back pieces and stitch in place. You may need to hand stitch at the bottom of the gusset if it’s too thick for your machine.
4 Punch holes through each end of the handles, as well as through the felt where the handles will be positioned. Attach with rivets.

SHARE YOUR PICS
Once you’ve completed your tote bag, visit us online at facebook.com/newzealandwomansweekly and share your handiwork. Don’t forget to ‘Like’ our page for great Weekly updates and discussions.
See more of Jane’s great craft ideas at sweetlivingmagazine.co.nz
Weekly Home
Guest Craft Editor
Jane Wrigglesworth